From a hackathon to another : a year of CosmicPi evolution
On the first week-end of October, we were at CERN´s Ideasquare participating in The Port 2015 hackathon. We gave an overview of the project in our final presentation, available to watch here and below.
Our presentation at ThePort15 hackathon.
It was a good moment to gather and progress on making the CosmicPi, but also a good time to have a look backward as the team met thanks to the first hackathon by The Port in 2014.
Hackathon 2014
James had since a little while the idea of building a cosmic ray detector. Talking around at CERN, he discovered that few other people were actually planning to design one for schools, and all those people gathered as a team to share their skills.
We had quite a lot of discussions about the design, and arrived at the first hackathon with minimal supply : the hardware part was a scintillator bar where the cosmic ray deposit energy when they cross it, an optic fiber to trap the light created by the cosmic ray, and a Silicon photomultiplier on each side to convert the light into electrons so they can be analysed by the computer.
That's all folks !

A well-wrapped scintillator bar and the two amplifier boards.
Yay !
towards Hackathon 2015
But that was only the beginning. Then our head started to go all directions to think how we could go to the final product. First , we decided to increased the size of the scintillator to get more cosmic rays, which flux is ~1 per second per cm2. The curvy design of the fiber maximises the efficiency, the photons created by the cosmic ray being absorbed by the scintillator eventually.
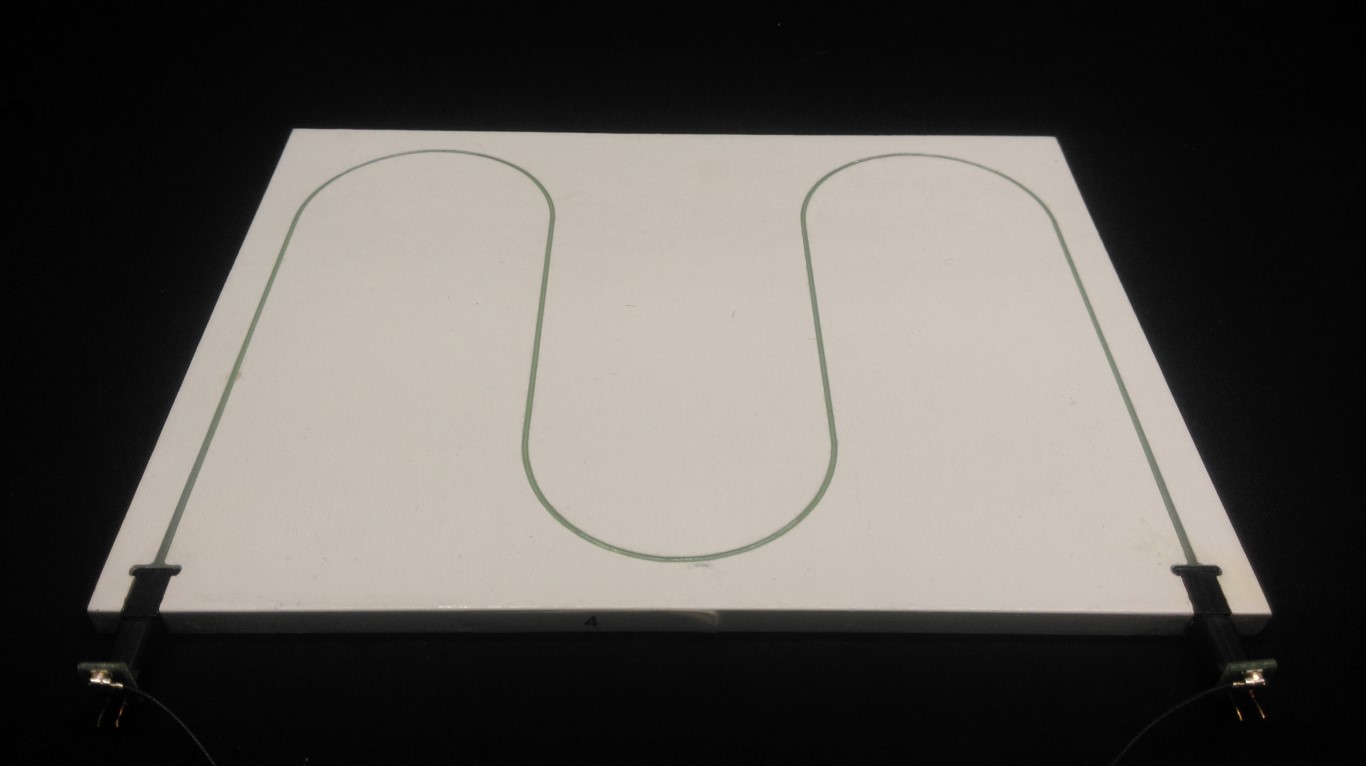
The magic piece of scintillator without which we could not detector cosmic rays.
Then, we needed to make sure the signal was coming from cosmic rays, and not noise (i.e. every signal not due to cosmic ray but ambient light, dark noise of the photomultiplier... and mimicking the cosmic ray signal). To reject noise, we required the signals on both photomultipliers to be in coincidence, which means to happen during the same time window. The time window had to take into account that a signal occurring at one end, let's say the right one, would arrive earlier to the right photomultiplier than the left one. So how long does it take for a photon to go from one side to another ? The refractive index of the core of the fiber is ~1.45, and characterise the ratio of the velocity of photons on vacuum with regards to the material. Knowing that the speed of light 300 000 Km/s, it means that inside the fiber it goes at 300 000 / 1.45 = 209 000 Km/s. In the case of the initial bar we had, the length of the bar being 15 cm, it takes ~0.72 ns to go from one end to the other. That is the minimum duration of the time window where we require two signals, but it is actually a little longer as it actually takes time for the cosmic ray to cross the scintillator.
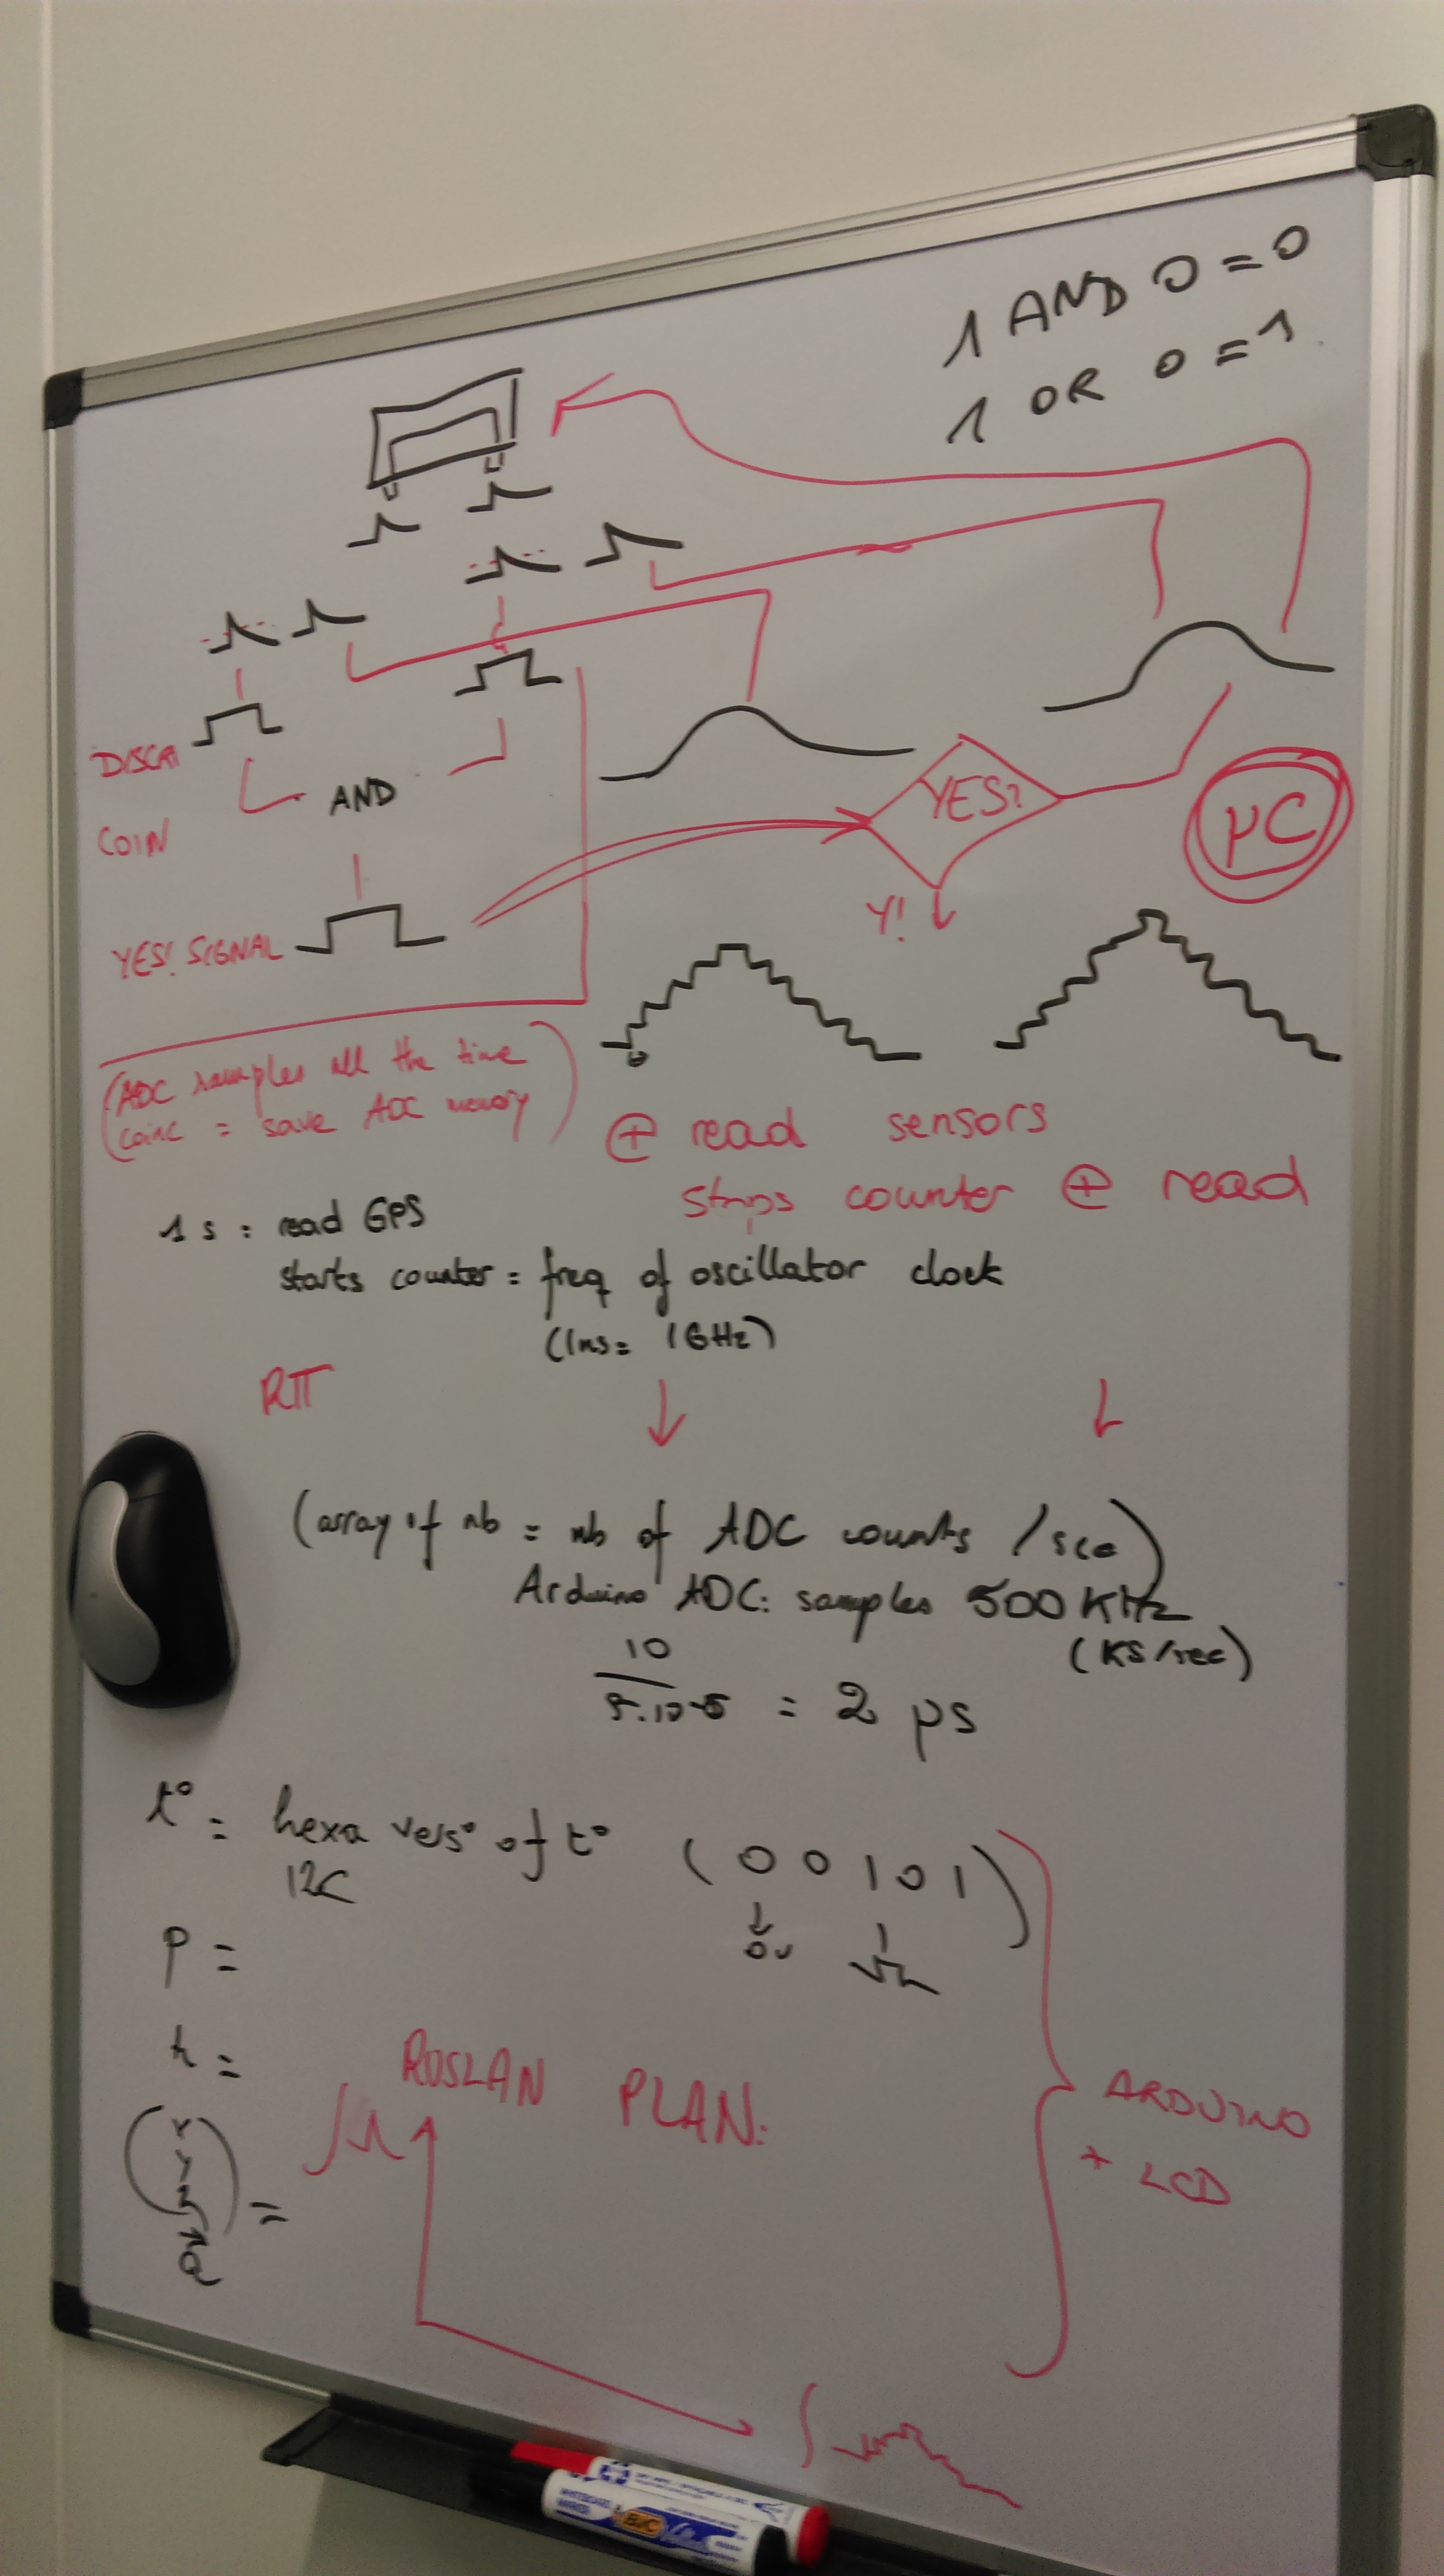
A board that summarises the steps in the electronics. COIN is the coincidence of signals.
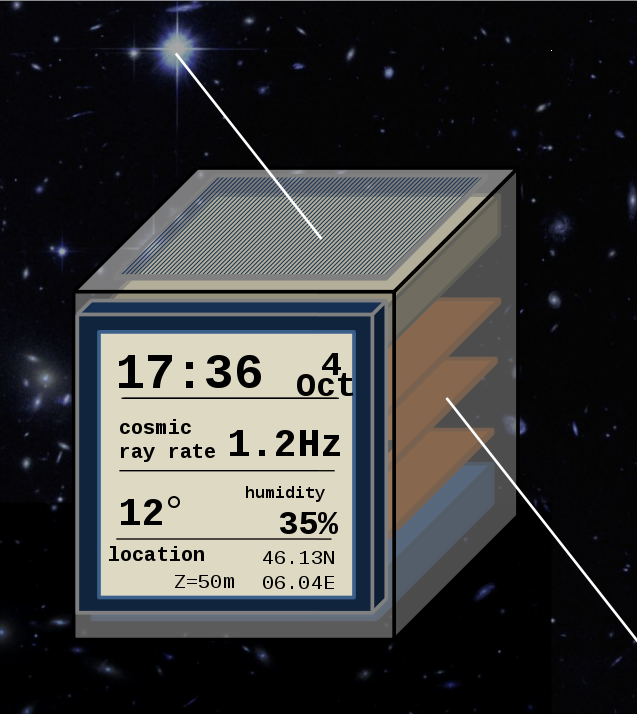
The CosmicPi is now a little weather station !
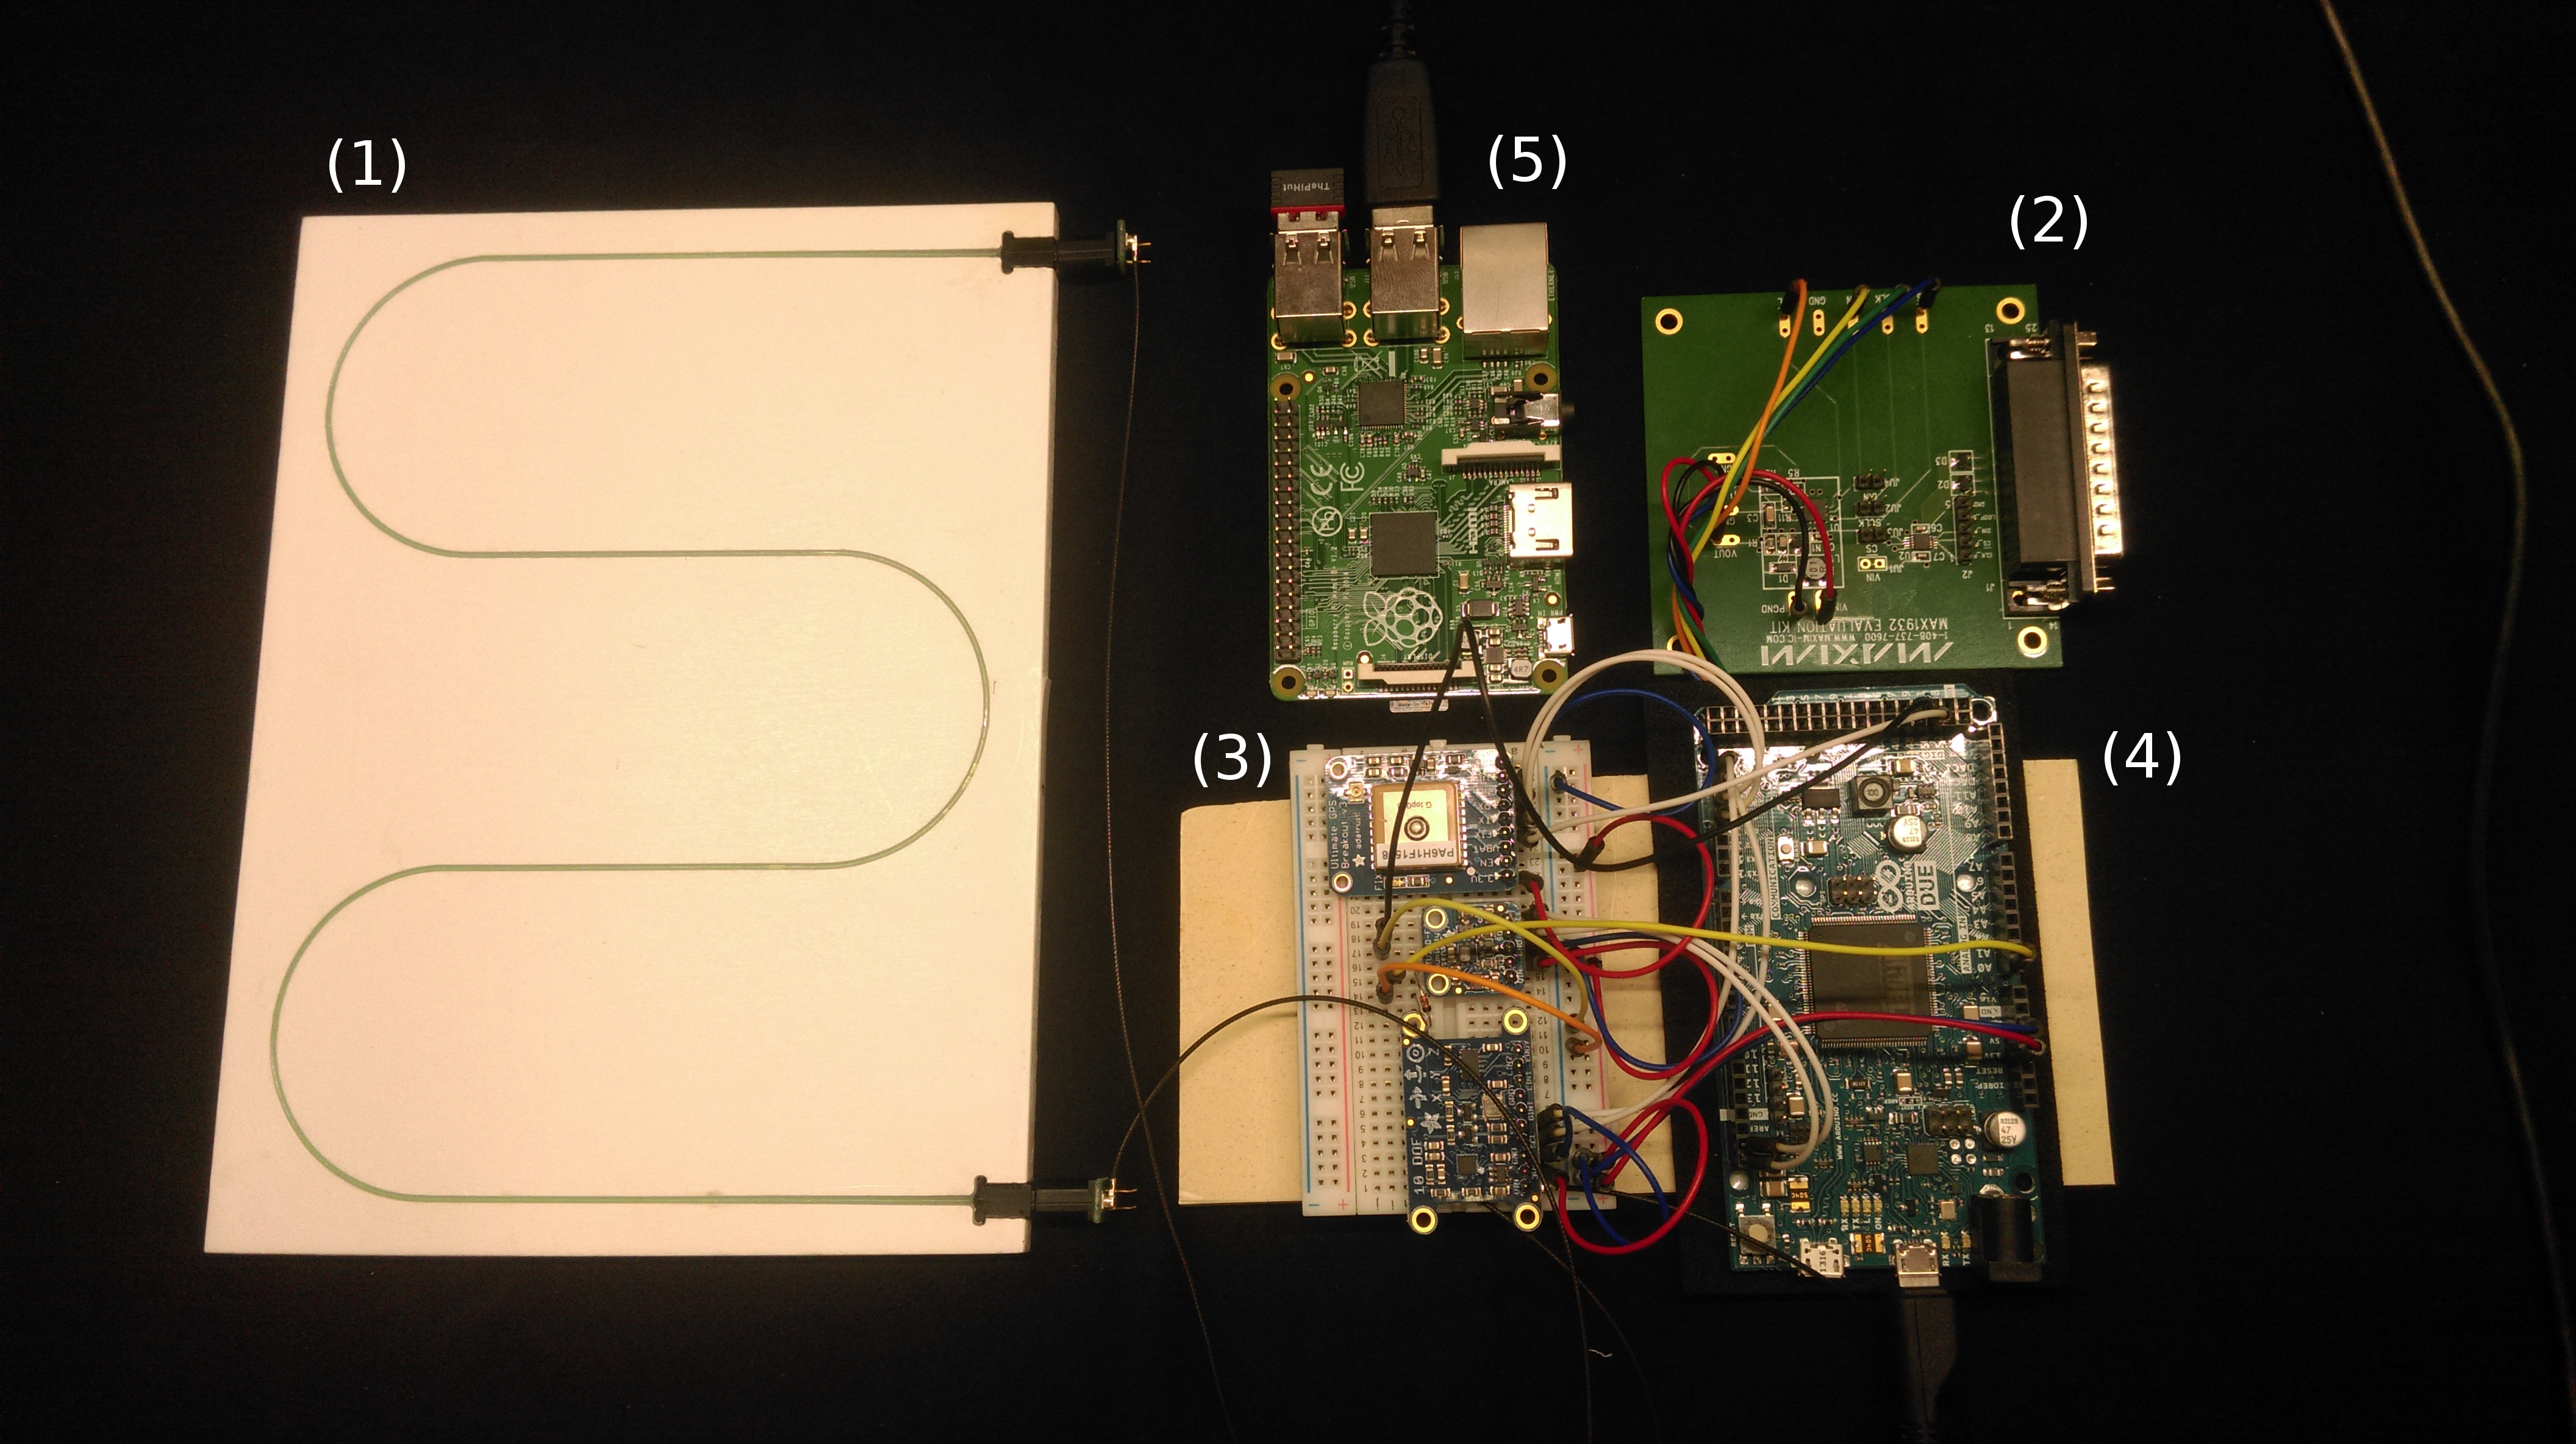
The cosmic ray energy is detected on the scintillator slab (1) from the photomultipliers powered with a DC power supply (2). Their output as well as the ones of a set of atmosphere sensors (3) is sent to the Arduino Due microcontroller (4) for digitisation before a Raspberry Pi (5) stores the output and sends it to the computer when connected by Ethernet.
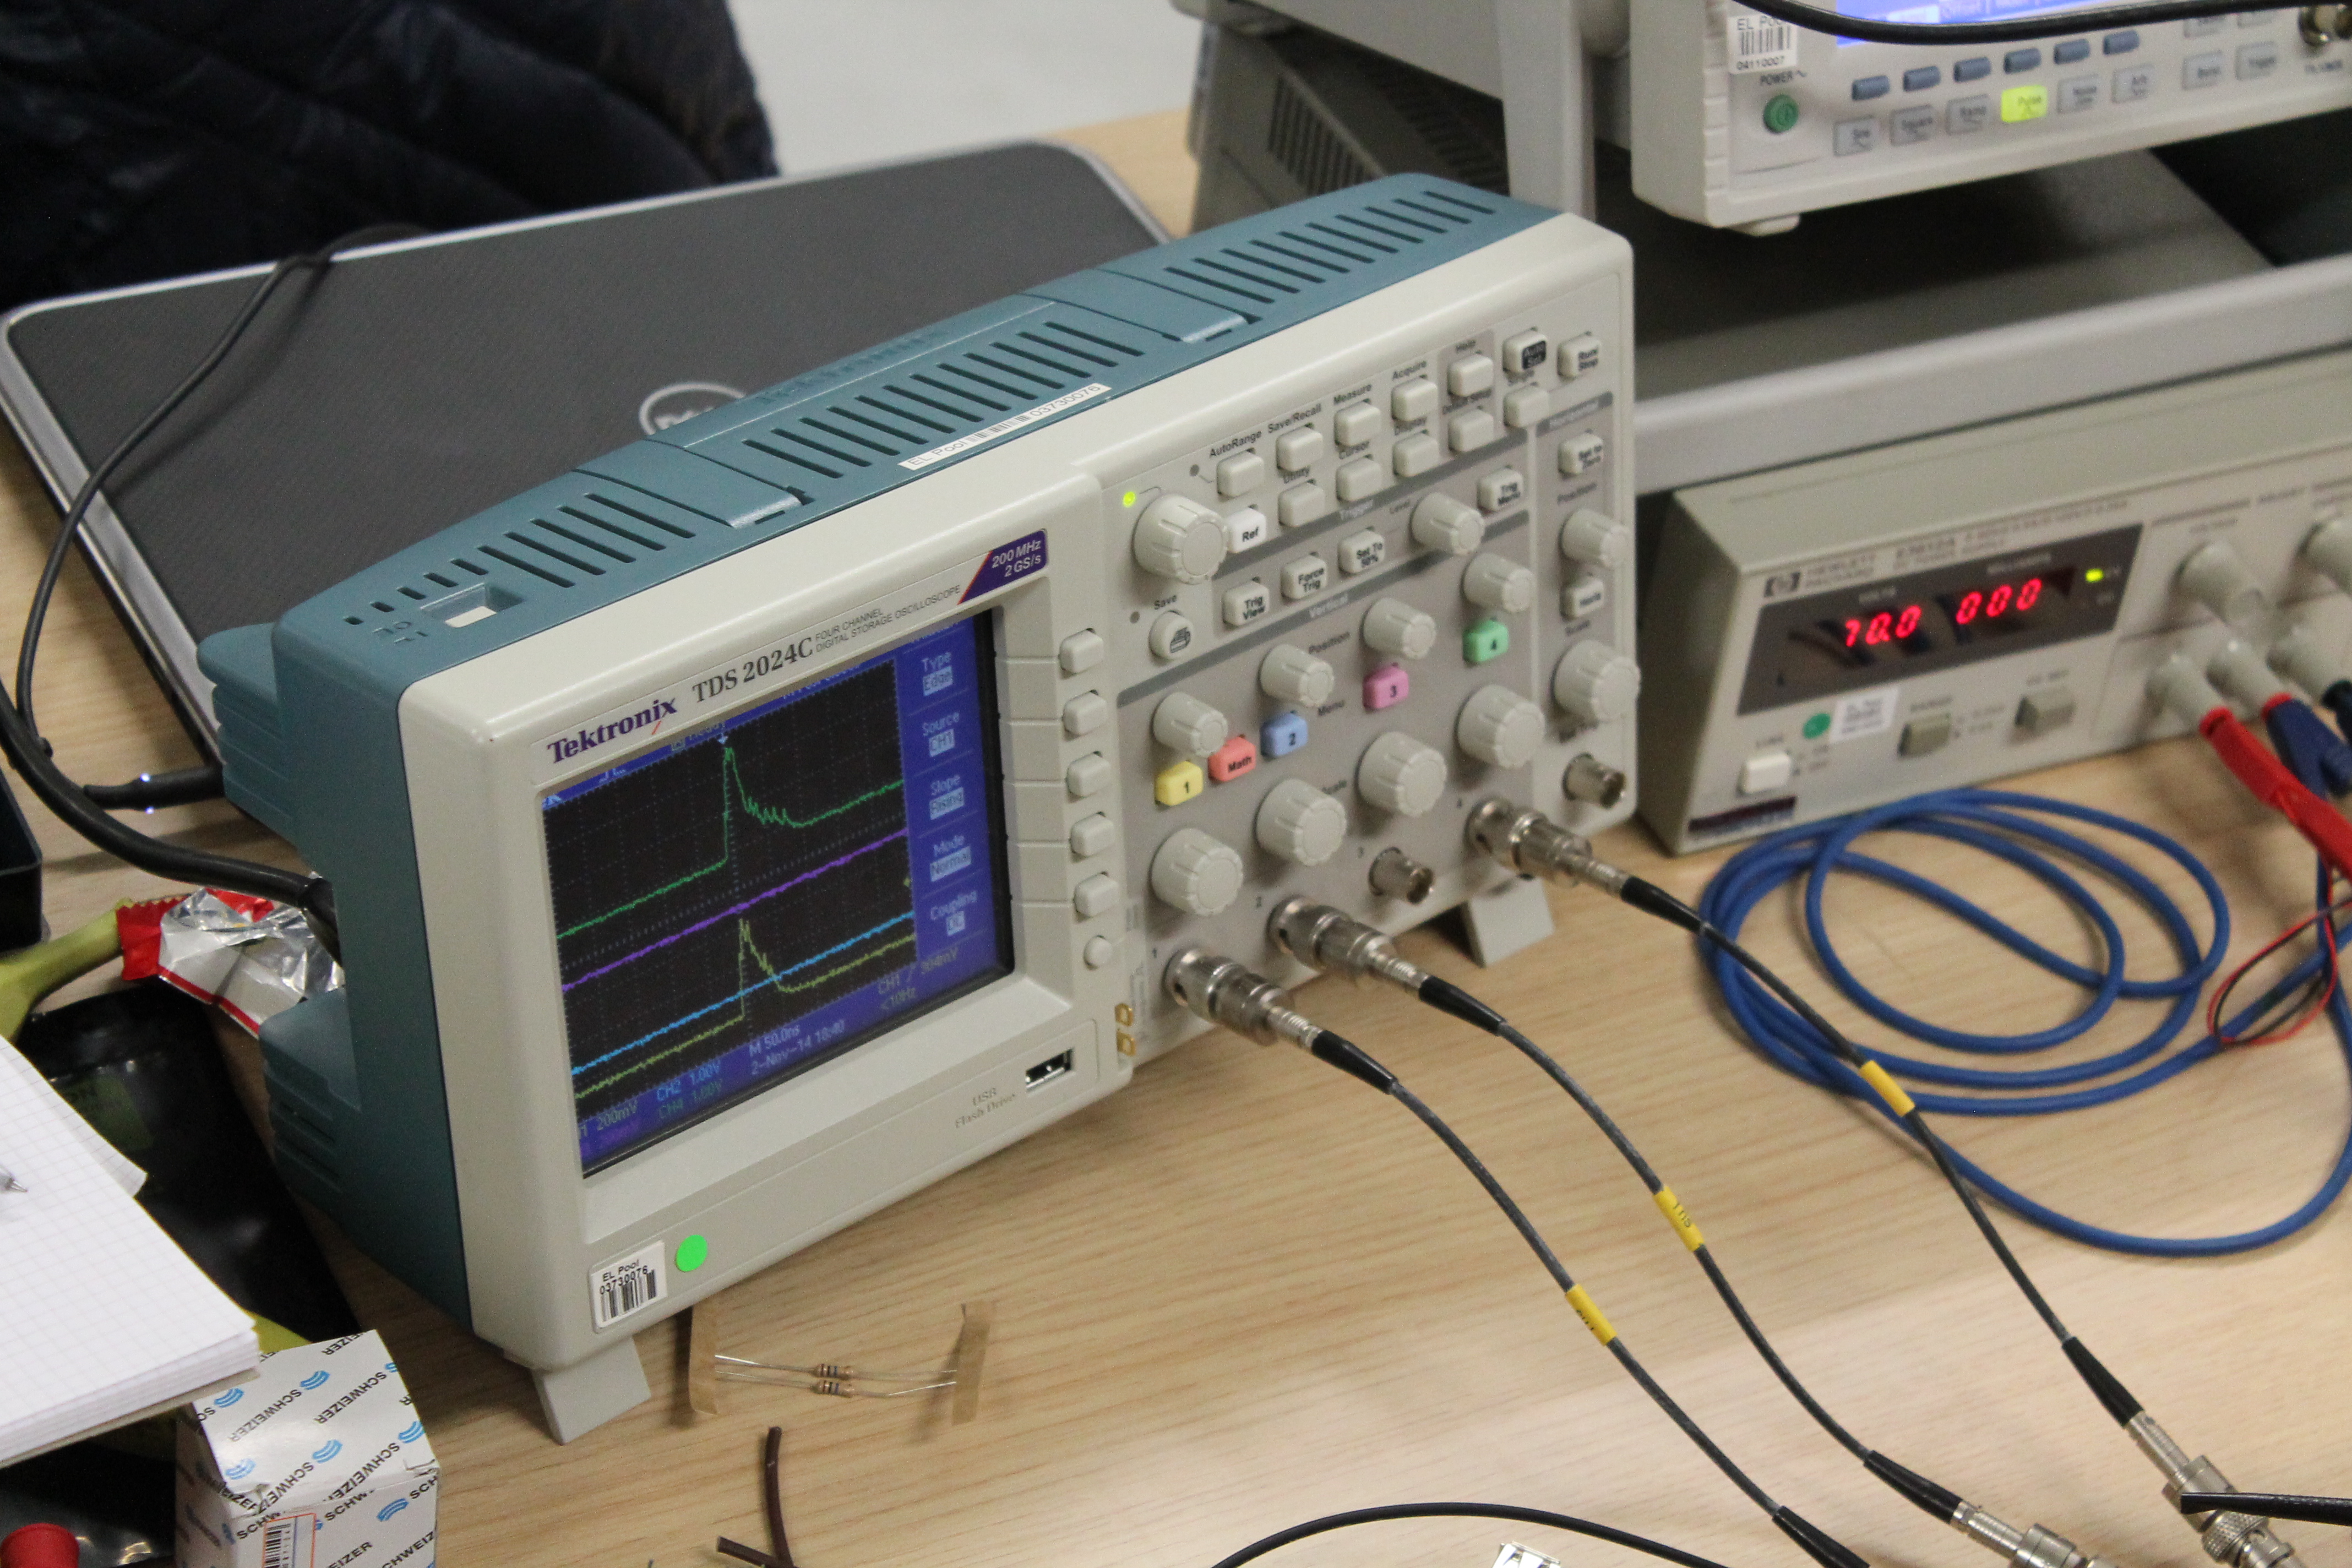
A walk through the CosmicPi analog electronic test bench.
Hackathon 2015
Loads of little details to check... and a little piece of code arriving soon !