The birth of Cosmic Pi
The Cosmic Pi project was born out at The Port Hackathon, held at CERN in late 2014. The stealthily titled team X1 set their sights on the development of a low cost (<500 USD) cosmic ray detector, to be released under an open source license, for students, teachers and enthusiasts. James Devine explains how it all got started, and what the team are planning to do next.
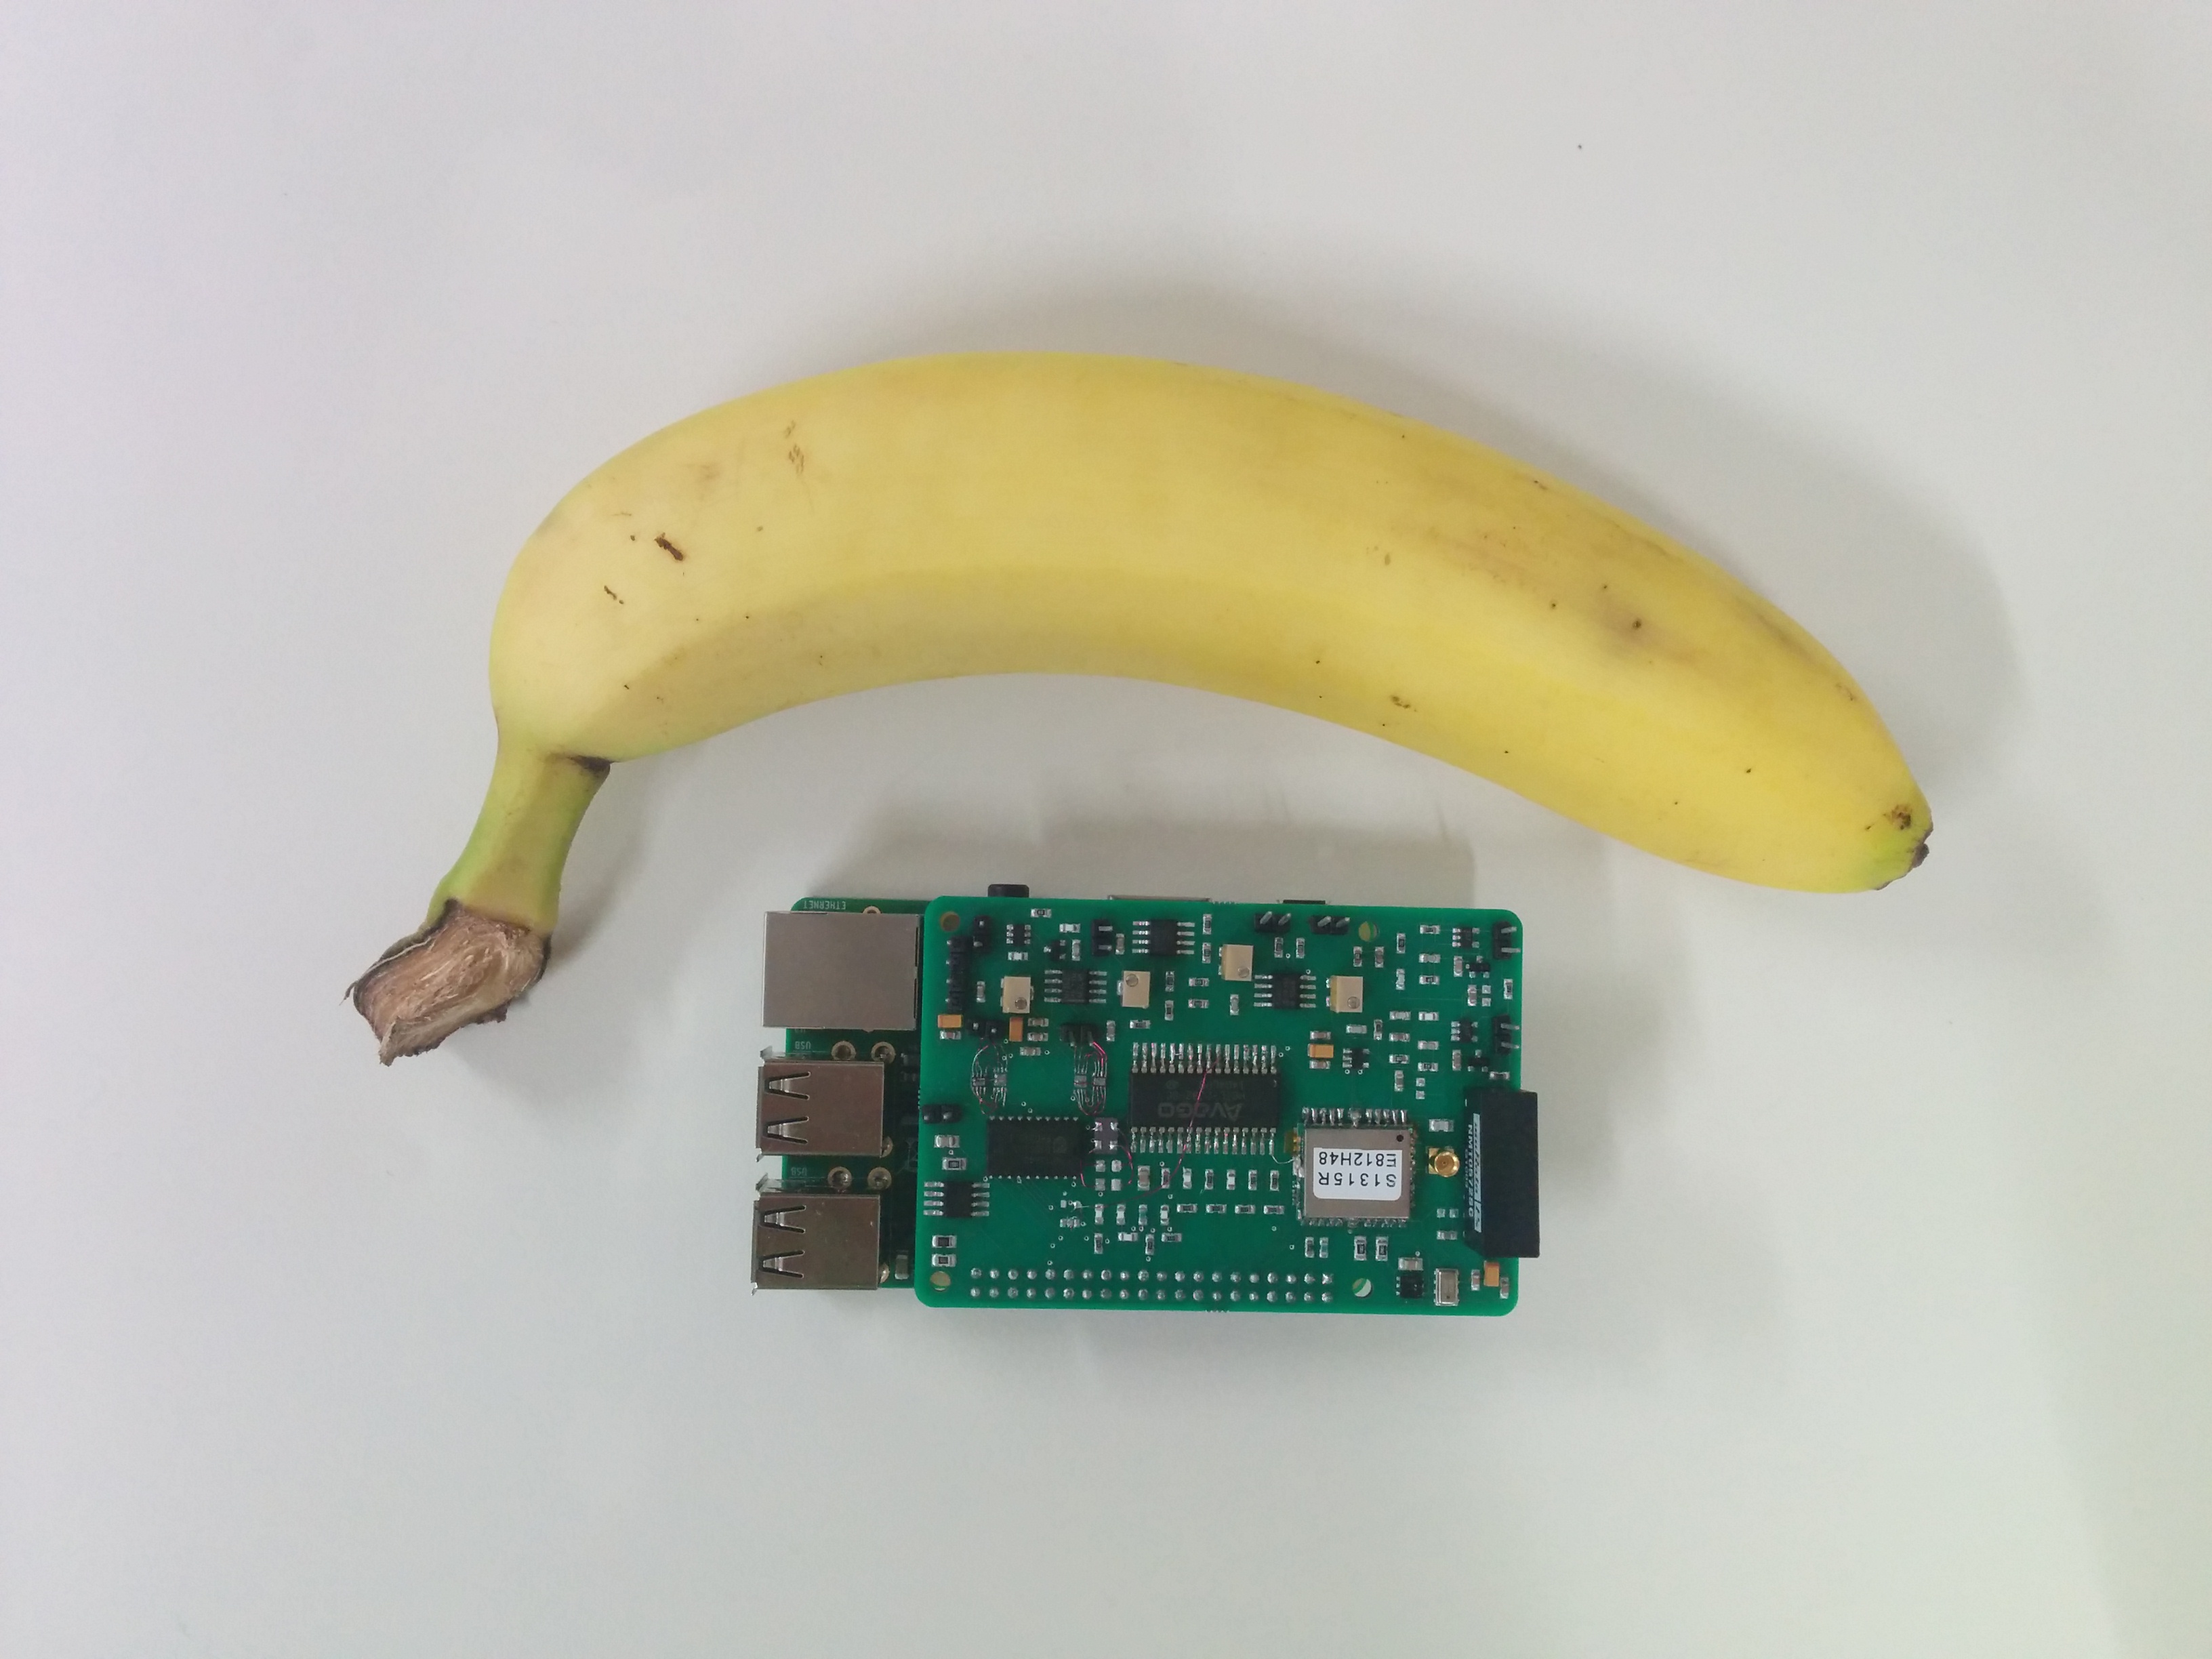
Version 1 with Banana for scale.
Background
Two years ago I got together with some of my friends to prototype an Android based cosmic ray detector, using a lot of the hardware developed by the ERGO cosmic ray pixel telescope, during the 2012 CERN Webfest hackathon. In the course of 48 hours we were able to prototype a detector using an Arduino ADK board, some hacking of a GM based pixel detector kindly provided by the folks at ERGO and a few lines of code.

Inspired by the ERGO Project
Although successful, our prototype showed the clear difficulties that the development of USB accessories for Android presented at the time. Sadly the situation hasn't improved in the interim, as demonstrated by the almost total absence of USB accessories for Android phones on the market. There was scope for significant cost savings in the ERGO design by using an android phone for GPS and the network uplink, however it wasn't really practical at the time and still isn't. We left our prototype, until a couple of years later the Raspberry Pi came out of the technological development oven. You can read the full backstory on my personal blog here.
Enter the Pi
I've followed the development of the Raspberry Pi with interest over the last couple of years. Most of my personal projects are generally mobile in nature and use GPS, GPRS/3G, SMS, Cameras, accelerometers and WiFi connectivity, so I didn't really see any attraction in doing anything with the Pi at first. However, since the Android USB interface remains so lamentably bad they are an option for anything that's going to need a hardwired connection to anything else.
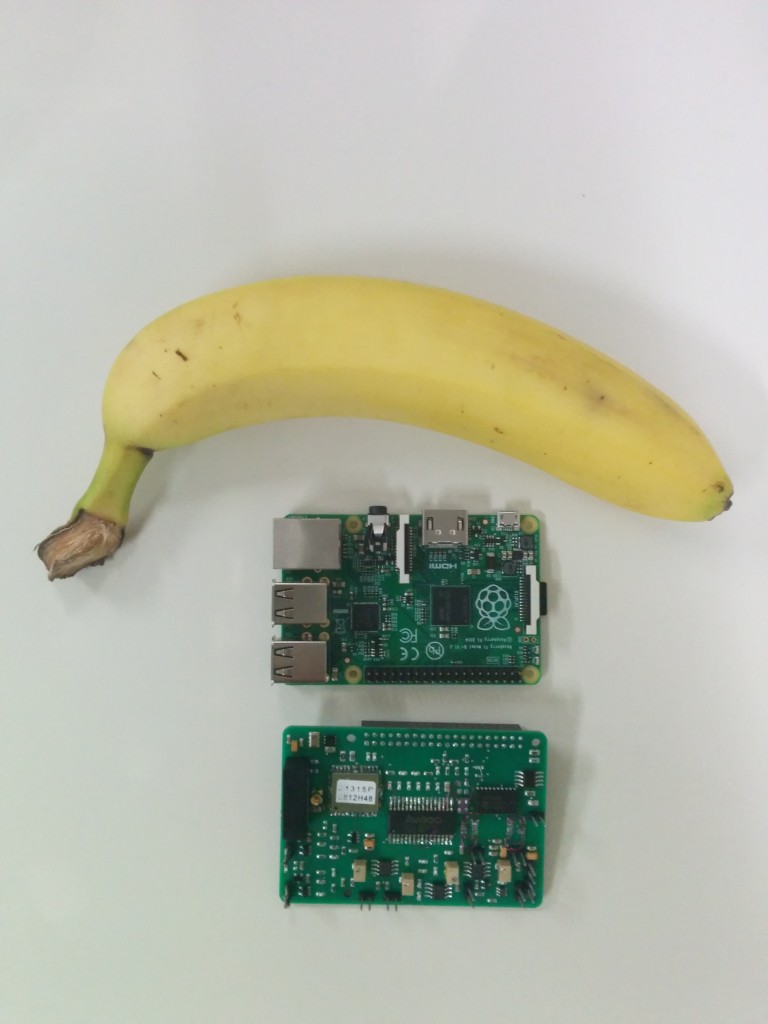
Cosmic Pi HAT, Raspberry Pi and a banana.
The other major development is the release of the Pi Hat spec, which enables Arduino style shields to be designed and plugged in on top of the B+ (and perhaps soon A+) models. This is where the Pi piqued my interest, since all the missing components for a cosmic ray detector can be combined into a Pi Hat PCB. This is the story of our progress so far in the development of our CosmicPi Hat...
The Team
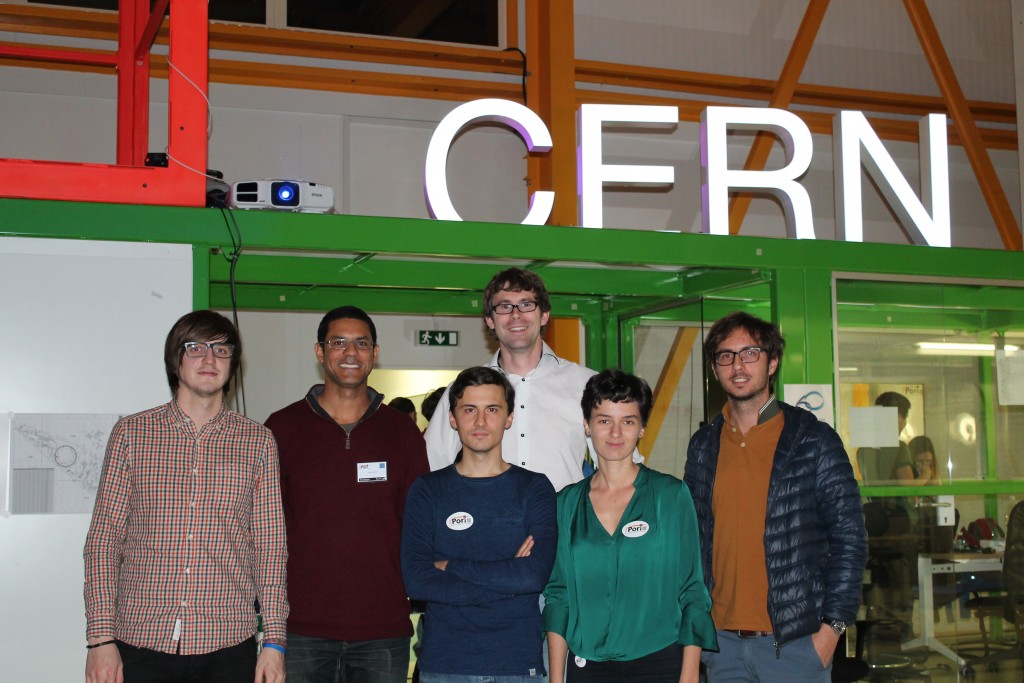
Most of the team posing for a photo at the hackathon.
Following on from the progress on the Android detector, I got in touch with Hugo and Justin who had worked with me at the time and were still around CERN and interested. We then added a few specialists to the team:
Cosimo - Detector electronics expert
Martin - Grid Computing specialist and Pi enthusiast
Etam, Ruslan and Leila - Our all star specialists in Muons and Muon detection
Laurel - Another Muon expert from across the Atlantic.
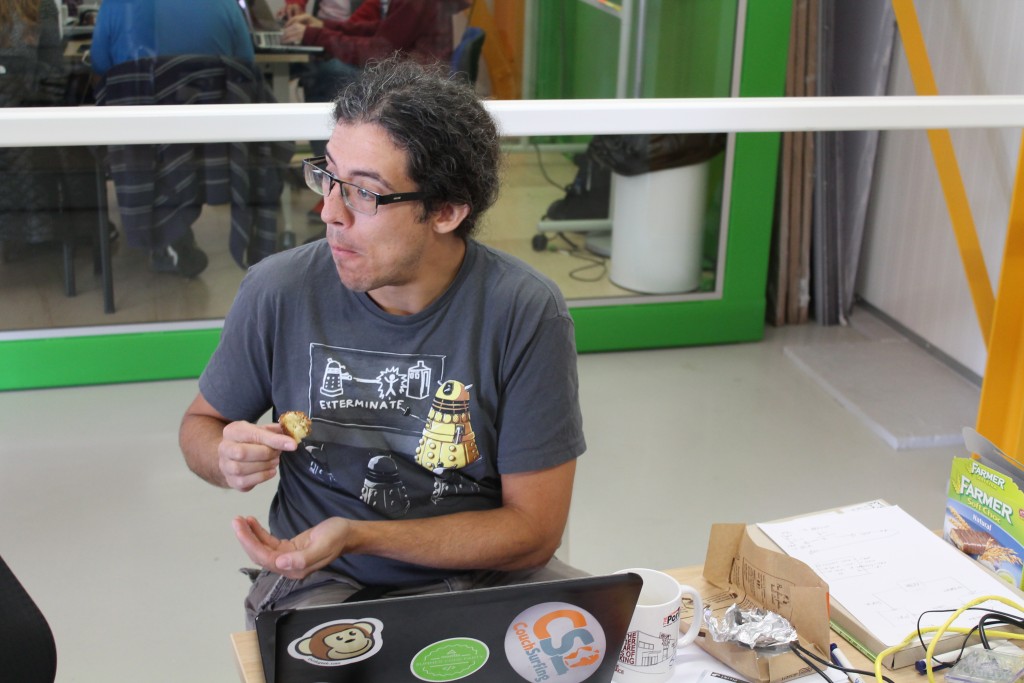
Hugo, refuelling during the hackathon marathon.
Working on this project (so far!) has been one of the most enjoyable side-projects I've had since the last time we built a cosmic ray detector in 2012. I've been really impressed with the team's commitment and professionalism to the project since we started, I should add that everyone volunteered to join. It's amazing what a difference it makes to a project when your entire team is self-selecting, motivated to make something new, innovative and open source. We have agreed to split the development costs equally across the team and to put everyone's name on the output.
The Goal: Capture, Store and Share
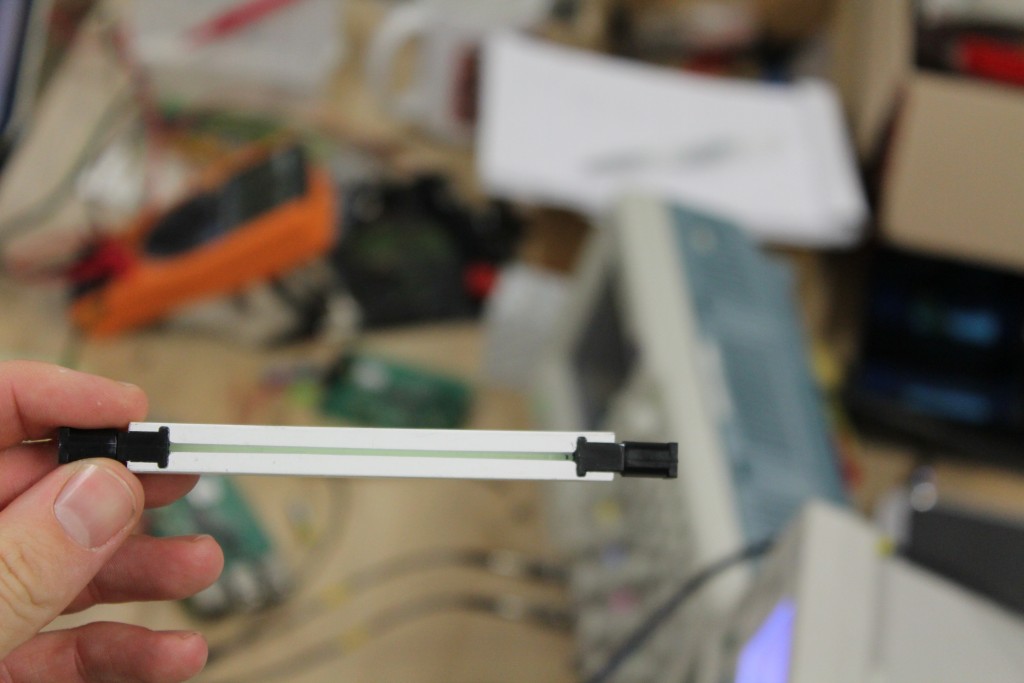
Our prototype plastic scintillator stick.
Our initial goal is to produce a small, cheap and (relatively) simple muon detector design, to be published under an open source license. This module will plug in to a Raspberry Pi B+, will include software capable of collecting, storing, sharing and analysing the data coming out of the detector and will use the computing power of the Pi to deliver this. We are aiming to bring a full 'slice' of the LHC into the home and the classroom:
- The Universe: Our source of free particles to detect
- A scintillator detector, highly sensitive stable and cheap to buy in volume
- Silicon Photomultipliers (SiPMT), compact modules which eliminate the need for High Voltage supplies
- A custom amplification and read out circuit design (This is hard work!)
- Ancillary sensors to monitor temperature, altitude, relative humidity and position
- A precise timing and trigger system, accurate to approx 300ns
- Grid storage layer, for all data collected
- Local webserver, to display detector performance
- Grid analysis layer, for reconstruction of cosmic ray shower

Using an external amplifier, we detected cosmic rays using our scintillator stick.
When we've completed this task, we would like to bring this detector to as many people as possible, however this is going to have to be the subject of another post. We are aiming to have a build cost under $500 for volume manufacture (>100 units), however we need to finalise the design first.
Tell me about the hardware, because I'm a geek.
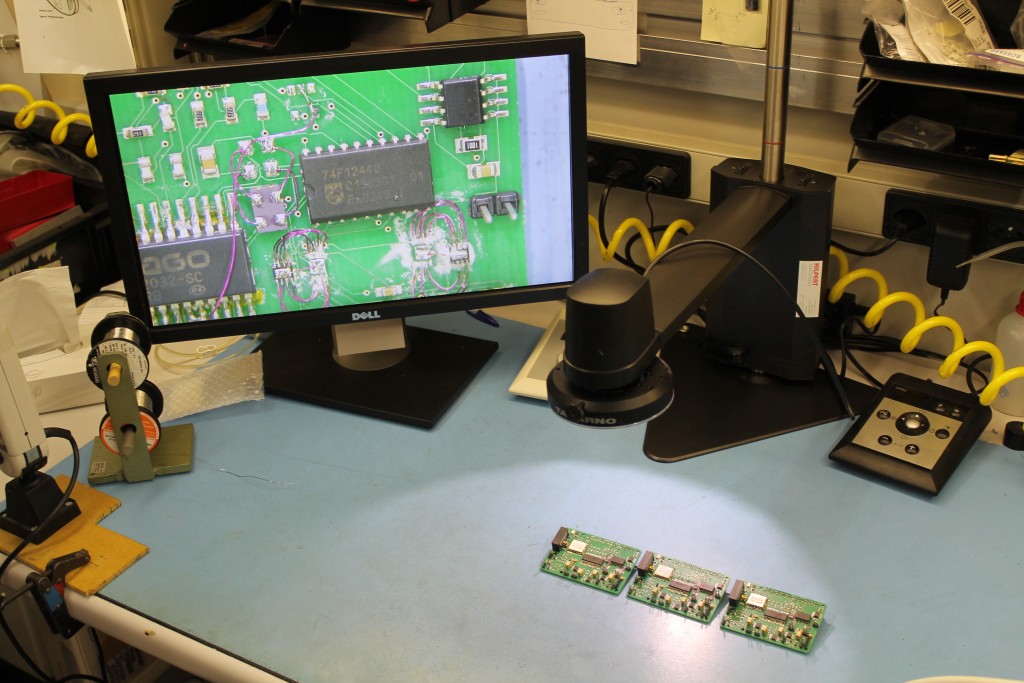
Our 3 first prototype boards. Produced in the early hours of the morning.
The prototype board (V1.0) comprised the following main elements:
- Murata xxx DC PSU
- Agilent Quadrature Encoder 32Bit 33MHz counter
- RF Solutions GPS
- Dedicated Analoge input stages
- Event Trigger Generation
- 2 Channel Analoge to Digital Conversion over SPI
- Temperature, Pressure and Relative Humidity Sensors over I2C

Solder paste being applied to our PCB's
After several iterations using EagleCad a workable circuit design was produced which fitted on a slightly oversize Pi Hat header. The circuits and PCB were designed mostly between Midnight and 3 AM, and consequently contained more mistakes than you would want on a production model. We're still in the process of completing the debugging of V1.0, so again more on this to follow. You can find the ‘as built’ prototype design here in the CERN OHL repository (look in files) if you want to start working on it yourself. The main issues were related to mistakes in the footprints of SMT components, a few signals routed incorrectly due to errors in the schematics and a couple of signals that were forgotten and had to be added with jumper wires. All mistakes encountered during the hackathon weekend have been corrected and are included on the V1.1 schematic available here.
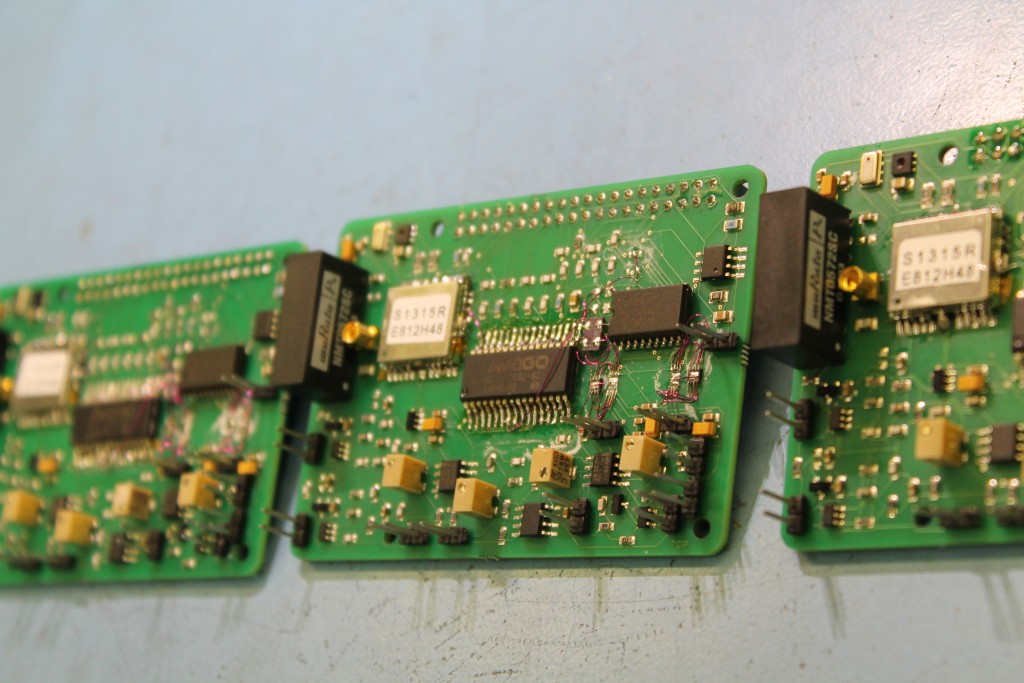
Our three prototypes, complete with a significant amount of re-work.
Another significant feature of the V1.0 PCB is the need for a level shifter to convert between 3.3V and 5V logic for the quadrature encoder. For the next design iteration of the PCB we are going to replace the quadrature encoder and move entirely to 3.3V logic, again more on this to come.
During the weekend we assembled three fully populated prototype boards, all of which were electrically functional. The following elements were operationally tested:
- -72V Murata PSU: found to be <-72V due to low load, needs more current flow to stabilise
- GPS operation and position fix, communications over UART
- ADC read-in over SPI, noise and errors not quantified
- Trigger input to Raspberry Pi and software functionality
The analog stage still requires fine tuning to match the impedance, gain and integration periods to the specific characteristics of the SiPMT being used. The signal generation (coincidence) also needs fine tuning before we can proceed to the next prototype.
Software, because.
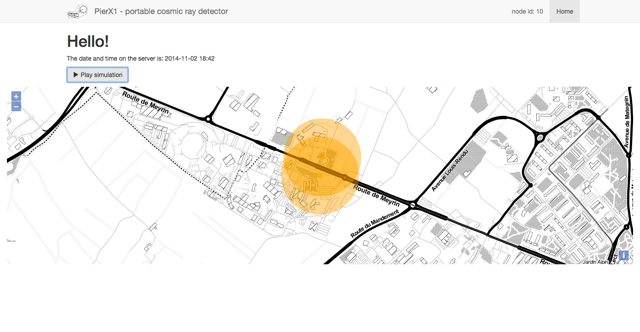
Software screenshot
During the weekend we tested routines written in Python. I'll need to ask Justin and Martin to write a software oriented post lated for some more information. The current software functionality is as follows:
- Read in data from the Cosmic Pi, specifically the ADC, Timing, Temperature, Pressure, Humidity
- Store/share the data using the storage framework
- Analyse and visualise the data collected
The source code is available here.
And next?
Since the hackathon we've been working hard on developing a second prototype, updating the design and working out all the kinks we found in Version 1. For all of you who love the idea but don't fancy building your own we are also planning a Kickstarter campaign to produce a batch of Cosmic Pi's for sale, so stay tuned for more updates. You can follow us at facebook.com/cosmicpi and on Twitter as @cosmicpi