How to flash your Cosmic Pi!
For those of you who are lucky enough to have just received a Cosmic Pi in the mail, you probably want to get it up and running ASAP. We've shipped them all with firmware that we tested, but in the meantime we've been making improvements including:
- Better control of the Bias voltage applied to the SiPM sensors, key to detecting Muons.
- Extraction of a unique serial number for your device - contained in the Arduino DUE inside the box.
- Other fixes and improvements (also feel free to suggest more in comments here.
All our code is on Github, so you can download it, modify it and re-upload it to share. If you have suggestions or code changes you think would be helpful for everyone, please submit them to us via Github!
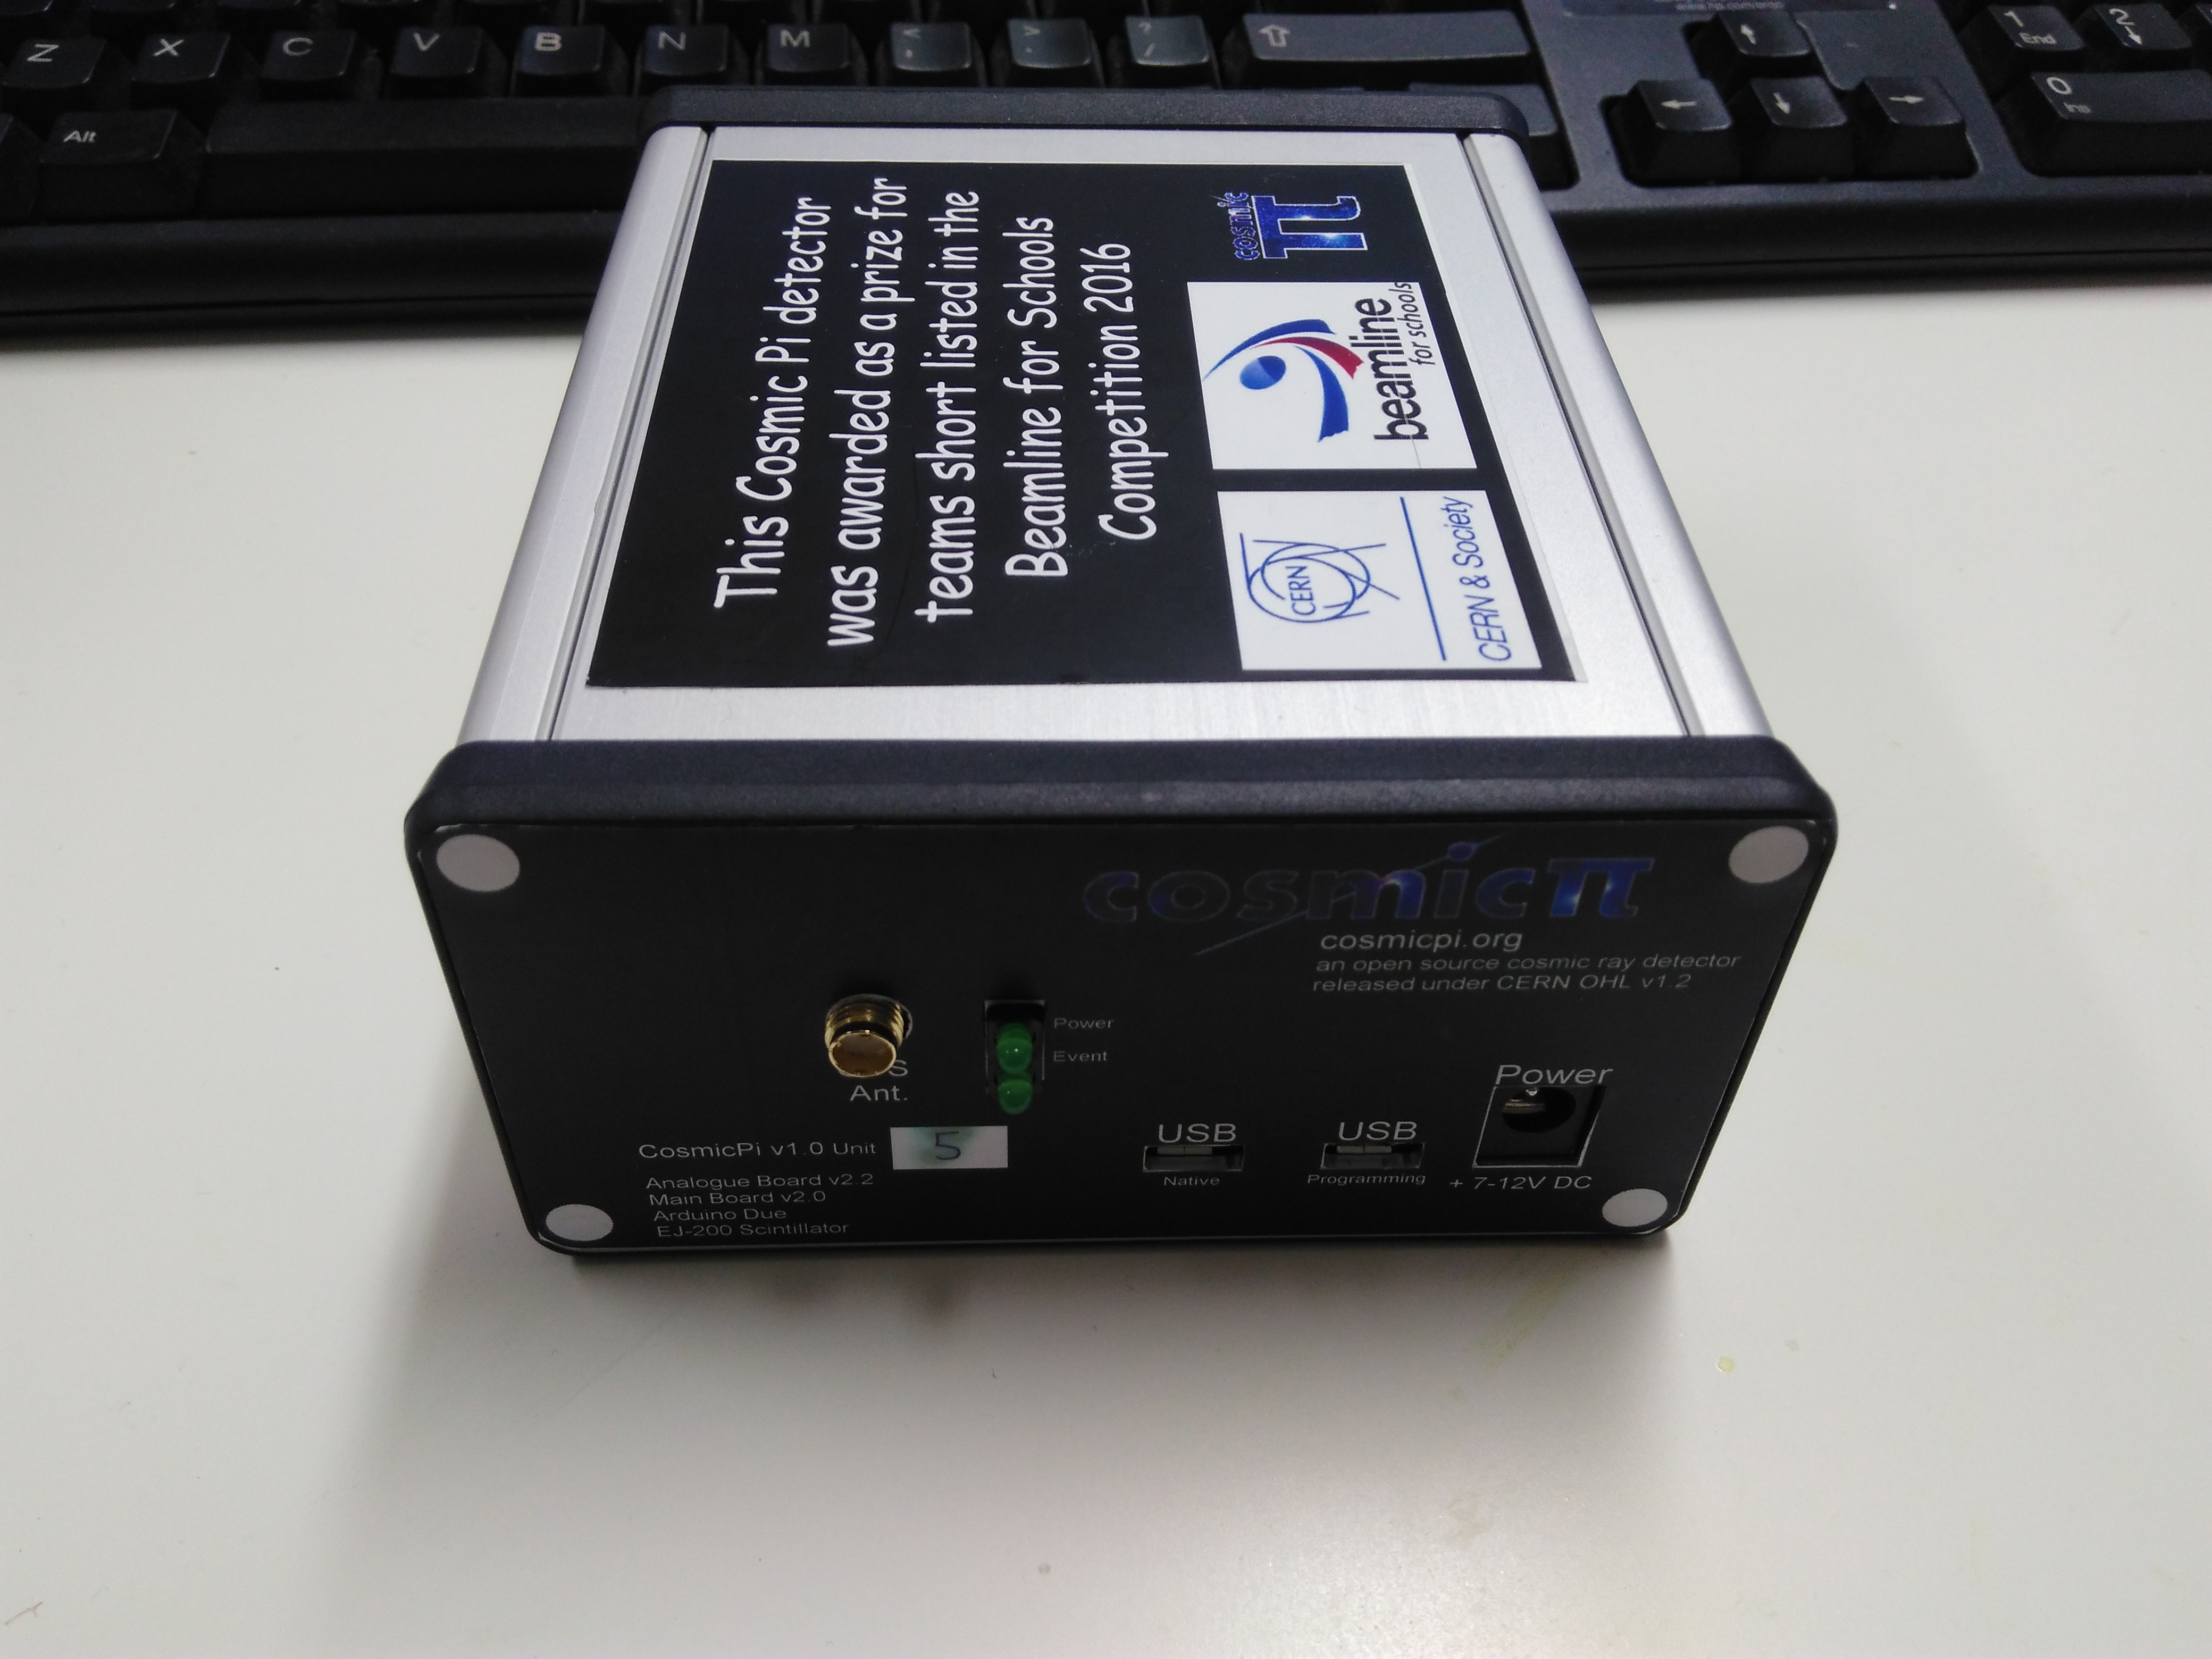
So now it's time to update the "Firmware" - i.e. embedded software, on your Cosmic Pi. You can do this in a number of ways, depending upon your operating system. As a general note, external power and GPS aren't needed when flashing your device, a single USB connection to a computer is sufficient.
Microsoft Windows or Apple OS X
Stage 1) Download and install the Arduino Integrated Development Environment (IDE). You should install version 1.6.13 or later.
Stage 2) Install the IDE, following the instructions from the Arduino download page. It should be a matter of clicking on the file you just downloaded and installing. You may require administrator privileges, depending upon how your system is configured.
Stage 3) Go and download our latest Arduino firmware from here. You can download it as a zip file from the button on the right hand side which says 'Clone or Download'. For those who use github already, you also copy the url provided by the download box into the command line and do a git clone into a new directory.
Stage 4) Unpack the .zip file into a directory and navigate to /CosmicPi-arduino-master directory. You will find all the firmware source code here. At the moment we're developing on Linux, so there are a couple of extra steps for non-linux users - you should delete the file "cosmicpi-arduino.ino" and rename the file "cosmicpi-arduino.cc" to "cosmicpi-arduino-master.ino"
Stage 5) You can now open the file "cosmicpi-arduino-master.ino" in the Arduino IDE. You should connect your Cosmic Pi via the Programming USB port on the front of the box. In the Arduino environment you will need to:
- Go to the Tools Menu
- Go to the Boards > sub-menu
- Open the Board Manager
- Select the Arduino SAM boards (32-bits ARM Cortex-M3) option and make sure version 1.6.9 or later is installed.
- When this has downloaded, select "Arduino Due (Programming Port)" from the Tools|Boards menu
- Finally, select the communications port you are using for the board from the Tools|Port menu. It will normally be something that includes Arduino Due (Programming Port) in the description!
Stage 6) Press the tick button on the top row of icons in the Arduino IDE. This will compile the code into a binary, there should be no errors in the black box at the bottom. There may be some warnings (i.e. something isn't quite right, but it should still work) - we're trying to eliminate these, but they don't affect device function.
Stage 7) Flash the board by pressing the arrow button next to the tick. If all goes well this should take a couple of minutes and you will get a confirmation in the bottom of the window that the board has been reset. You should see your Cosmic Pi start to work, and you can check that it provides you information by clicking on the magnifying glass in the top right of the Arduino IDE. Make sure to set the baud rate to 9600, otherwise your computer won't be able to correctly decode the output.
Linux (Ubuntu or Raspbian)
You can download the Arduino IDE if you're using an x86 computer (i.e. not a Raspberry Pi) - as per the Windows/Apple instructions. However these instructions are focused on someone who wants to download a pre-compiled file for the Cosmic Pi and upload it directly.
Stage 1) Download the binary from Github here. For the purposes of this tutorial, it is assumed you will download/unzip the binary to the /home/Desktop directory.
Stage 2) Install Piupdue by typing "pip install piupdue"
Stage 3) Plug your Cosmic Pi in to the USB port of your computer. Please note that if you are using this method you should connect to the Native USB port to flash, rather than the Programming port for normal use.
Stage 4) Locate the local directory where piupdue.py has been installed by navigating to / and searching for it using "find -iname "piupdue.py"". On Ubuntu it should be located in ./usr/local/lib/python2.7/dist-packages/piupdue/. Navigate to this directory and type "piupdue.py -f ~/home/Desktop/ cosmicpi-arduino.ino.arduino_due_x.bin -p /dev/ttyACM0 -l errorlog.log"
Stage 5) Wait, assuming everything is going ok, you'll see a bunch of messages on your screen. This process could take up to 30 minutes. If you get an error with the port you can try executing the command as SUDO, which will solve permissions problems with the serial ports, or checking that /dev/ttyACM0 is the correct serial port. This can be done by listing the serial devices with "find /sys/bus/usb/devices/usb*/ -name dev", it may reveal that you should be using ttyACM1 or ttyUSB0 or ttyUSB1 for example.
Stage 5) When the upload is completed your Cosmic Pi should start automatically.
My operating system isn't listed?
If you're using something that isn't Windows, Apple OS X or Linux, please drop us a line. We'd love to find out what alternative OS you are using, and we'll do our best to get you up and running.